
Water seepage is a common problem in homes, apartments, offices and commercial buildings. It can cause damp walls, peeling paint, damaged plaster and unpleasant smells. If left untreated, persistent moisture can also encourage mould growth and damage building materials.
The good news is that you can stop seepage by finding the source of the water and choosing the right repair method.
In this guide, we explain how to stop water seepage in walls, roofs, bathrooms and other areas. You will also learn how to choose the right sealant, repair cracks and prevent seepage from returning.
What Is Water Seepage?
Water seepage occurs when water passes through cracks, joints, porous materials or damaged waterproofing layers. It may appear as damp patches on walls, wet ceilings, peeling paint or white powdery deposits on plaster.
Seepage can come from rainwater, leaking pipes, bathrooms, terraces or moisture rising from the ground. The correct treatment depends on where the water comes from.
Important: Painting over a damp patch will not solve the problem. You must first identify and repair the source of moisture.
What Causes Water Seepage?
Understanding the cause is the first step towards an effective repair.
1. Cracks in Walls
Cracks in plaster, concrete and masonry can allow rainwater to enter a building. Small gaps around windows, doors and wall joints can also let water through.
Temperature changes and building movement may cause some cracks to reopen after repair.
2. Roof and Terrace Leakage
Cracked terrace surfaces, damaged waterproofing membranes, blocked drains and poor water drainage can cause roof leakage.
Water may travel through the roof slab and appear as damp patches on the ceiling below.
3. Bathroom and Plumbing Leaks
Damaged pipes, leaking bathroom fittings, failed tile joints and poor waterproofing beneath bathroom floors can allow water to enter nearby walls or ceilings.
If the damp patch becomes worse after using a shower, washbasin or toilet, check the plumbing and bathroom waterproofing.
4. Poor Exterior Wall Waterproofing
Exterior walls face rain, wind and changing temperatures. Over time, damaged paint, porous plaster and failed joints can allow moisture to enter.
This often causes damp patches on the inside of an exterior wall, especially during the monsoon.
5. Rising Dampness
Ground moisture can move upwards through porous masonry when an effective damp-proof barrier is missing or damaged.
Signs may include dampness near the bottom of a wall, peeling paint and white salt deposits.
6. Poor Drainage and Water Accumulation
Blocked rainwater outlets, leaking water tanks and water collecting near the building can increase moisture exposure.
Keeping drainage systems clear helps reduce the risk of seepage.
How to Stop Water Seepage in Walls
Follow these steps to identify the problem and choose a suitable repair.
Step 1: Find the Source of Seepage
Inspect the affected wall and the area around it. Look for cracks, loose plaster, leaking pipes, damaged window seals and signs of roof leakage.
Notice when the damp patch appears or becomes worse.
Dampness after rain may indicate exterior wall or roof leakage.
Dampness near a bathroom may point to plumbing or waterproofing failure.
Damp patches near the floor may indicate rising dampness.
Water around window frames may indicate failed perimeter seals.
These signs help narrow down the cause, but a professional inspection may be needed to confirm it.
Step 2: Repair Cracks and Gaps
Once you identify the source, repair suitable cracks and gaps with a compatible material.
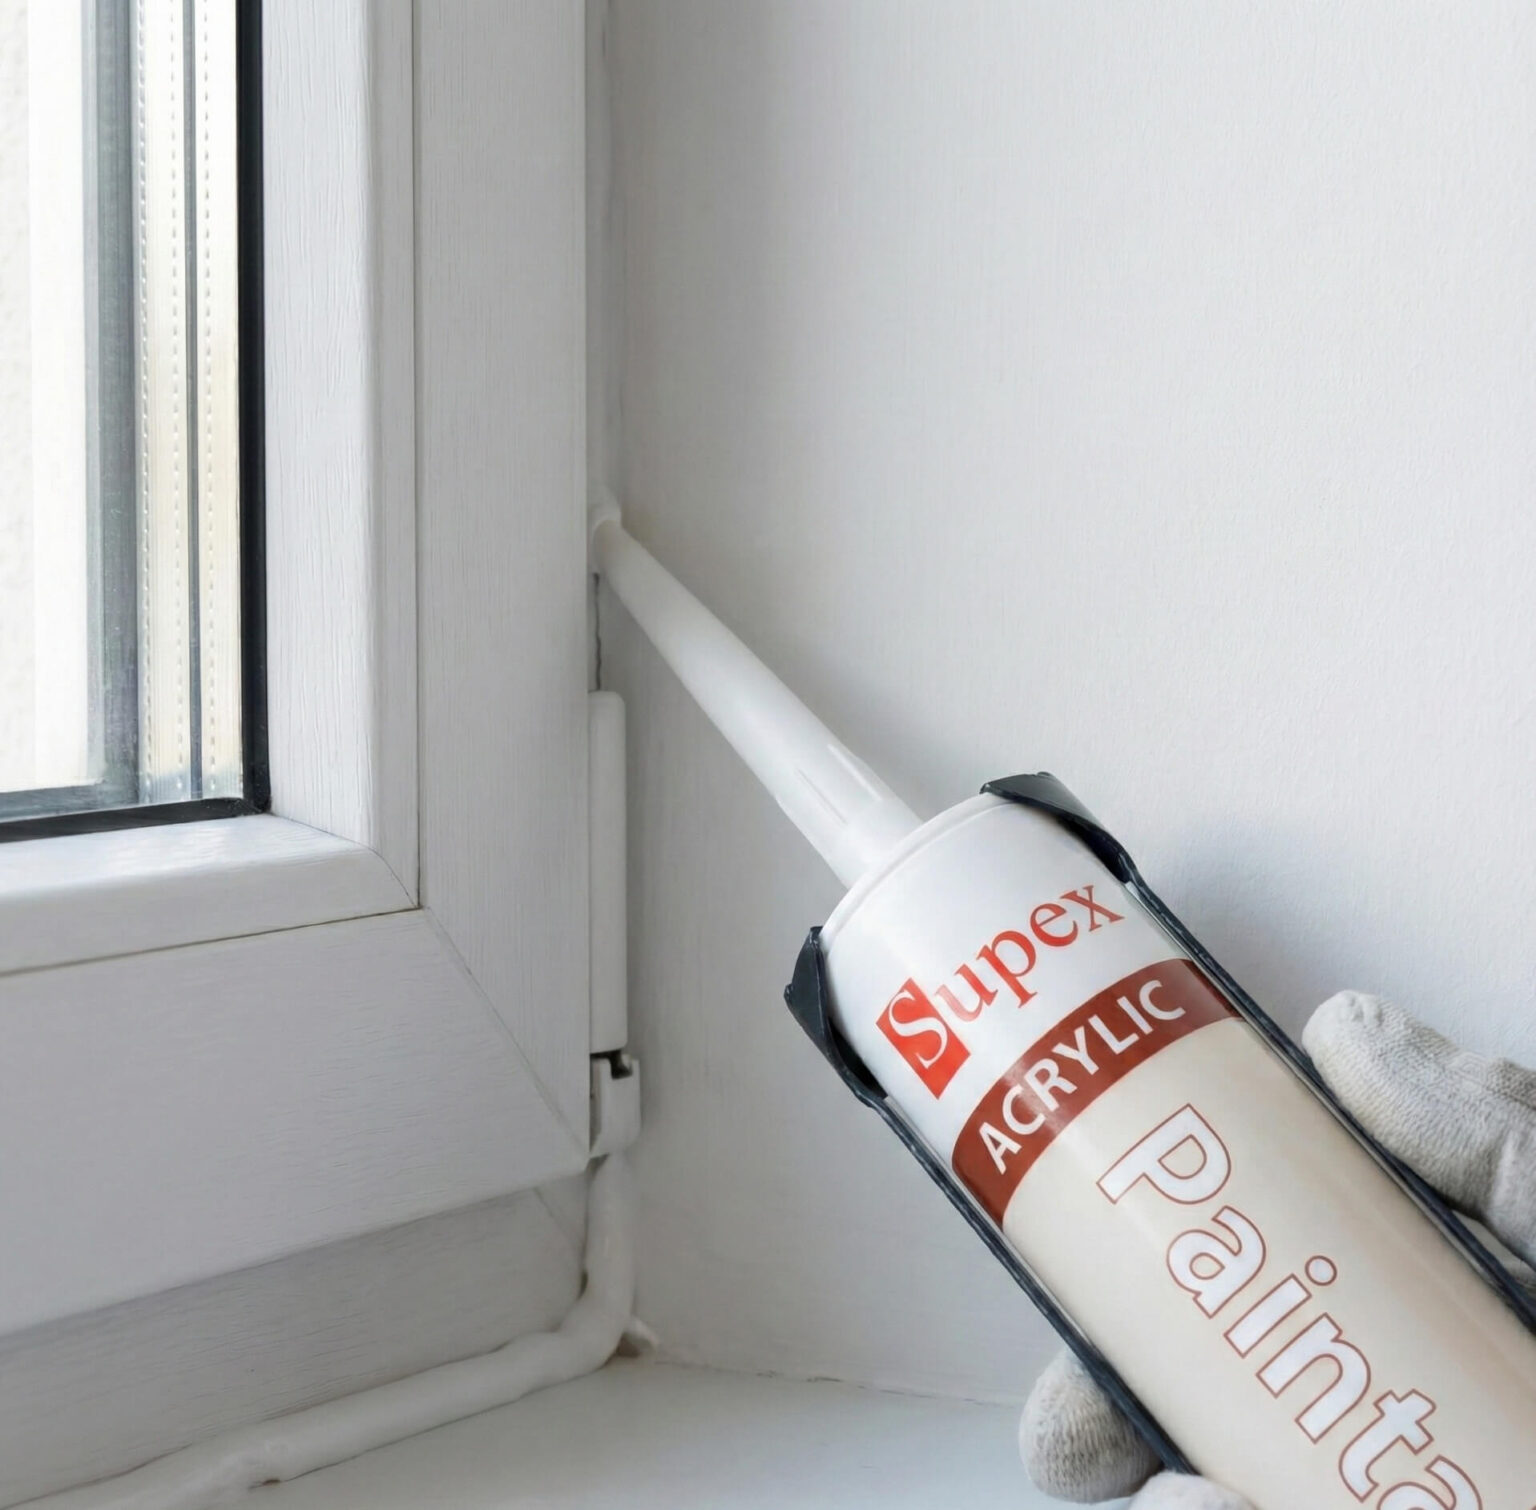
For small, stable cracks, an appropriate crack filler may be enough. For exterior cracks and joints that need flexibility, a suitable polyurethane (PU) sealant may provide a better solution.
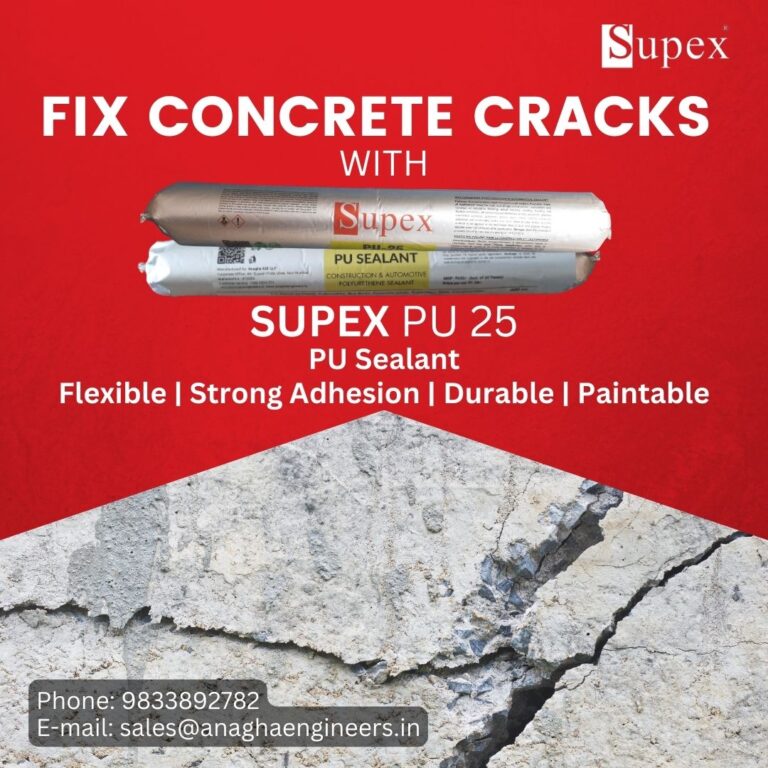
For example, Supex PU 25 is a polyurethane sealant designed for flexible sealing and bonding in suitable construction applications.
Before applying any sealant:
Remove loose material, dust and dirt.
Prepare the crack or joint as recommended.
Check that the sealant is compatible with the surface.
Apply it according to the product instructions.
Allow the sealant to cure before exposing it to water.
Do not use a surface sealant as a substitute for structural crack repair or a complete waterproofing system.
Learn more in our guide to crack filling and repair.
Step 3: Waterproof the Exterior Wall
If rainwater is entering through an exterior wall, the repair should address the outside surface wherever possible.
A suitable treatment may include:
Removing loose paint and damaged plaster.
Repairing cracks and open joints.
Allowing the surface to dry as required.
Applying a compatible exterior waterproofing system.
Sealing gaps around windows and doors.
Restoring the protective finish after the treatment cures.
The correct system depends on the wall material, the extent of damage and the amount of water exposure.
Treating only the inside of the wall may hide the symptoms temporarily without stopping the water from entering.
Step 4: Fix Roof and Terrace Leakage
If water appears on the ceiling or upper walls, inspect the roof or terrace above.
Check for cracked surfaces, failed joints, damaged waterproofing and blocked drainage outlets. Repair defects before applying a new waterproofing layer.
A typical repair may involve:
Cleaning the terrace and drainage outlets.
Removing loose or failed waterproofing material.
Repairing cracks and joints.
Correcting areas where water collects.
Applying a suitable waterproofing system.
Checking that water drains away properly.
For roofs with extensive damage or repeated leakage, consult a waterproofing professional.
Step 5: Repair Bathroom Seepage
Bathroom seepage often requires more than filling visible gaps.
Check plumbing lines, floor drains, sanitary fittings, tile joints and the waterproofing layer beneath the tiles.
Replace failed seals and repair leaking pipes. If the waterproofing membrane has failed, the affected area may need to be opened and waterproofed again.
Avoid relying on surface paint or ordinary crack filler to solve a leak beneath the bathroom floor.
Step 6: Let the Area Dry Before Repainting
After repairing the source of water, allow the wall to dry sufficiently. Remove loose paint and damaged plaster, and check whether the surface needs further repair.
Apply a compatible primer and finish only when the moisture condition is suitable for the selected products.
Repainting too early can lead to bubbling, peeling and recurring stains.
Which Sealant Is Best for Stopping Seepage?
The best sealant depends on the surface, the size of the gap, movement and the source of the water.
| Problem area | Suitable approach |
|---|---|
| Small interior wall cracks | Compatible interior crack filler |
| Exterior wall cracks | Suitable exterior-grade crack filler or flexible sealant |
| Moving construction joints | Flexible sealant designed for joint movement |
| Gaps around windows and doors | Sealant compatible with the frame and surrounding materials |
| Deep, irregular construction gaps | Suitable gap-filling material, with a protective finish where required |
| Roof or terrace leakage | Complete roof waterproofing system and appropriate joint repairs |
| Bathroom or concealed pipe leakage | Plumbing repair and suitable wet-area waterproofing |
A sealant is useful when water enters through a suitable crack, joint or gap. It will not solve every type of seepage.
For example, a leaking pipe requires plumbing repair, while rising dampness may need a damp-proofing treatment.
When Should You Use a PU Sealant?
Polyurethane sealants are useful for suitable construction joints and gaps that need a flexible, durable seal.
They can be considered for applications such as exterior wall joints, window-frame connections and selected concrete joints, subject to the product’s technical instructions.
Supex PU 25 is one option for compatible sealing applications. Always check the required joint dimensions, surface preparation, curing conditions and exposure limits before use.
Explore our waterproofing sealant guide to understand different sealant types and their applications.
How to Prevent Water Seepage
Regular maintenance can help prevent small defects from becoming major repairs.
Inspect Walls and Roofs Regularly
Check walls, terraces, ceilings and window frames for new cracks, damp patches or damaged seals. Pay particular attention before the monsoon.
Keep Drains and Outlets Clear
Remove leaves and debris from roof drains, gutters and rainwater outlets. Good drainage helps prevent water from collecting on exposed surfaces.
Seal Gaps Around Windows and Doors
Inspect the joints between frames and walls. Replace cracked or detached sealant with a compatible product.
Repair Leaks Quickly
Do not ignore dripping pipes, leaking tanks or damaged bathroom fittings. Small leaks can cause hidden damage over time.
Maintain Exterior Finishes
Repair damaged plaster and failed waterproofing coatings before rainwater can penetrate the wall.
Choose the Right Repair Material
Use materials designed for the actual problem. A flexible sealant, waterproof coating, crack filler and damp-proofing treatment serve different purposes.
Correct product selection and surface preparation are essential for a durable repair.
Common Mistakes to Avoid When Treating Seepage
Avoid these mistakes if you want the repair to last.
Painting over damp walls: This covers the stain but does not stop water entry.
Sealing the wrong area: Water may travel from a roof, pipe or neighbouring bathroom before appearing on a wall.
Using ordinary filler for moving joints: Rigid fillers may crack again when the joint moves.
Applying sealant to a dirty surface: Dust, loose material and contamination can weaken adhesion.
Ignoring drainage: Standing water can place continued pressure on weak joints and waterproofing layers.
Skipping curing time: Water exposure before the product cures can affect performance.
Using sealant for every problem: Extensive seepage, structural cracks and failed waterproofing often require a broader repair.
Conclusion
To stop seepage effectively, identify where the water is entering and repair that source first. Seal suitable cracks and joints, fix plumbing leaks, restore damaged waterproofing and ensure that roofs and terraces drain properly.
Choose the right repair material for the surface and the type of leakage. Flexible sealants, such as Supex PU 25, can help seal suitable construction joints and gaps, but larger waterproofing problems may need a complete treatment system.
Early repairs and regular inspections can help protect your building from recurring dampness, damaged finishes and costly maintenance.
Need help choosing a suitable sealant? Explore the Supex waterproofing sealant range or contact the Supex team for guidance on your application.
Frequently Asked Questions About Stopping Seepage
1. How can I stop seepage in a wall permanently?
Find the source of the moisture first. Repair leaking pipes, seal suitable cracks, fix exterior wall defects or restore failed waterproofing. The repair must address the actual cause to reduce the risk of seepage returning.
2. What is the best way to stop water seepage in an exterior wall?
Inspect the exterior wall for cracks, damaged plaster and failed window seals. Repair these defects and apply a compatible exterior waterproofing system where required.
3. Can sealant stop water seepage?
Yes, a suitable sealant can stop water entering through compatible cracks, gaps and joints. However, it will not fix leaking pipes, rising dampness or widespread waterproofing failure.
4. Which sealant is suitable for wall seepage?
The choice depends on the crack, surface and expected movement. Flexible PU sealants can suit certain exterior cracks and construction joints. Small interior cracks may need a different filler.
5. How do I stop seepage from a bathroom?
Check pipes, drains, fittings, tile joints and the waterproofing layer beneath the floor. Repair the leak at its source. If the concealed waterproofing has failed, further repair work may be necessary.
6. Why does seepage return after painting?
Seepage returns when the moisture source remains untreated or the wall has not dried sufficiently. Repair the leak, allow the surface to dry and use a suitable finishing system.
7. Can I stop seepage from inside the house?
Some repairs can be made from inside, depending on the source. However, if rainwater enters through the exterior wall or roof, treating the water-entry point is usually the better approach.
8. Does waterproofing stop seepage during the monsoon?
A correctly selected and installed waterproofing system can help prevent rainwater entry. Its effectiveness depends on surface preparation, existing damage, drainage, application quality and the condition of the building.
9. How do I identify the source of wall seepage?
Observe where the damp patch appears and when it worsens. Rain-related dampness may indicate exterior leakage, while patches near bathrooms or pipes may indicate plumbing problems. A professional inspection can help confirm the cause.
10. When should I call a waterproofing professional?
Seek professional help for recurring seepage, extensive dampness, major or widening cracks, persistent roof leakage, suspected structural damage or water entering through concealed plumbing and waterproofing layers.
Conclusion
2 Responses
I am in rented house and in our Hall wall the water seepage is becoming problem. Its not entire wall but may be 1/4 th portion. Want to know if you take up such small portion repair work.
Sir: we do not undertake repair contracts, just supply sealants.
In your case plz check for the source of seepage, is there a bathroom with common wall with water seepage. Then you need to repair bathroom seepage. Else it could be capillary effect ( water from building foundation seepingupwards due to capillary action).
For capillary seepage nothing much can be done. For detailed repair plan kindly whatsapp 9699892782